If you have an old, unattractive fence, it can become a real eyesore. Many people choose to live with it, thinking it’s too expensive to change. The good news is they are wrong. Believe it or not, there are some affordable options worth considering.
Fencing Facelift
If your fence is structurally sound and you don’t like the colour then consider repainting it. A fresh coat of paint can rejuvenate your fence and create a brand new look. Another option is to clad your fence in bamboo. Bamboo cladding is much cheaper than a replacement and less effort than painting, depending on the fence type. You’ll need to secure the bamboo in place, so if you are cladding a Colorbond fence, you will need to build a wooden frame to attach the cladding.
Fence Replacement
If your fence is structurally unsound, you are better off replacing it. In Perth, you can expect to pay around $65 – 85/metre for fence installation, excluding materials. Bear in mind, prices vary depending on the size of the fence and the terrain, so it’s best to get several quotes. A new fence isn’t cheap, which is why so many people put it off. However, there is one last option available, install it yourself.
Of the different types of fences available, the modular design of Colorbond fencing makes it one of the easiest to install. If you are up for the challenge and want to save yourself some serious money, follow this guide.
Planning and Preparation
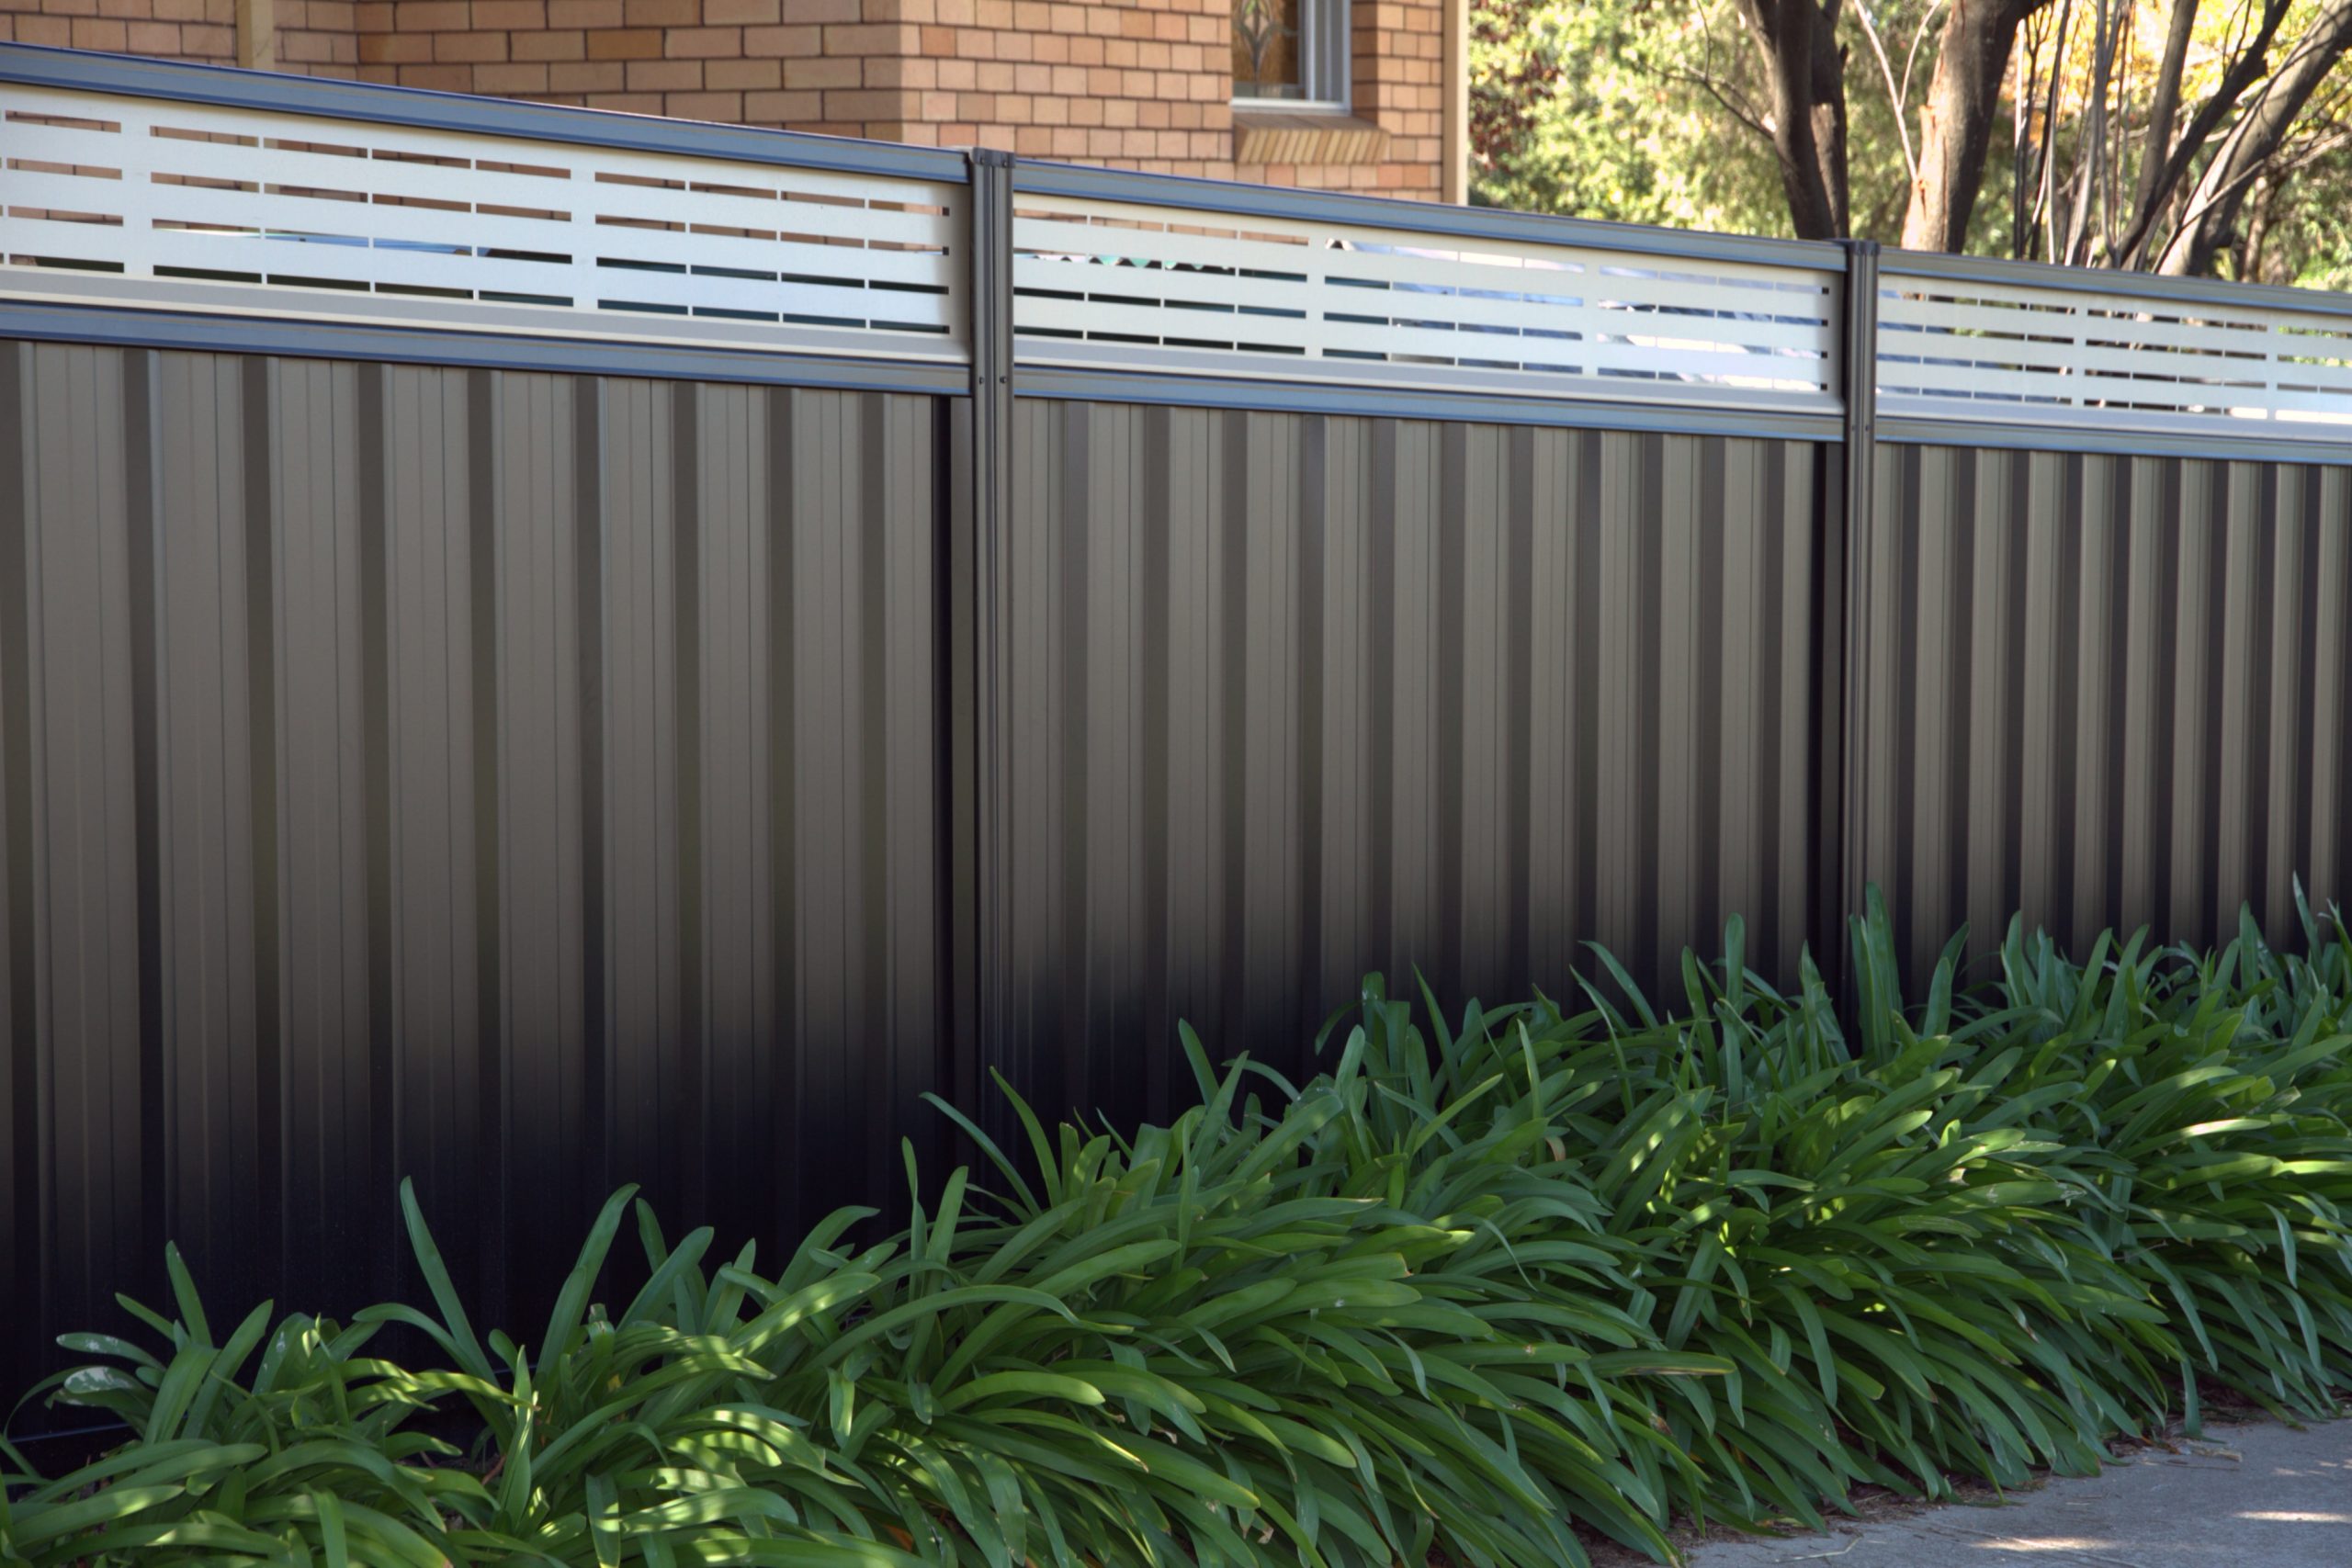
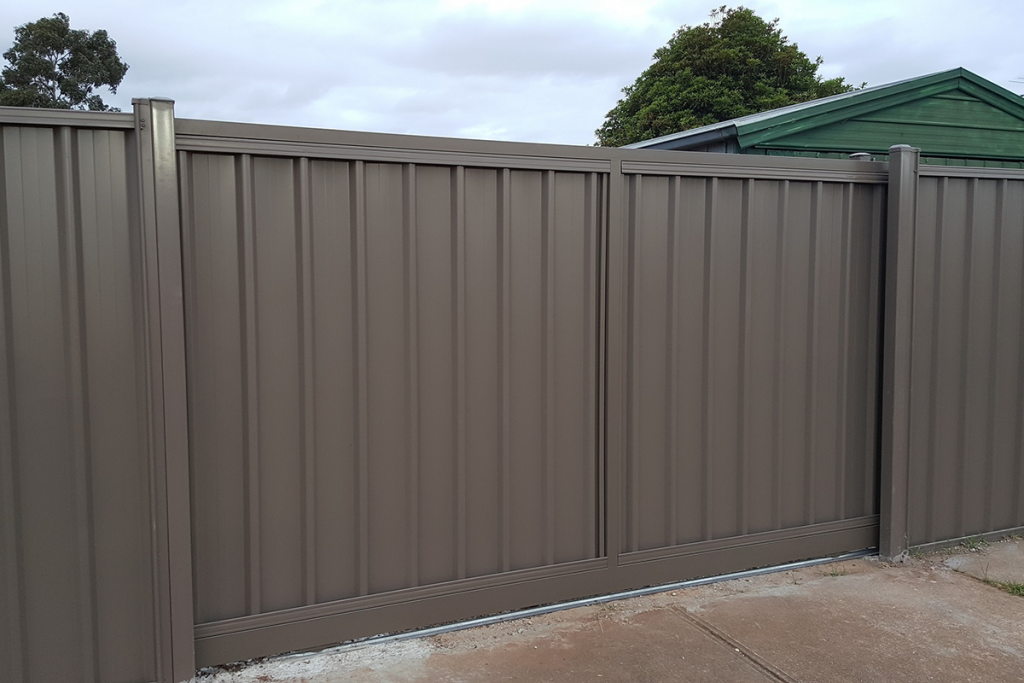
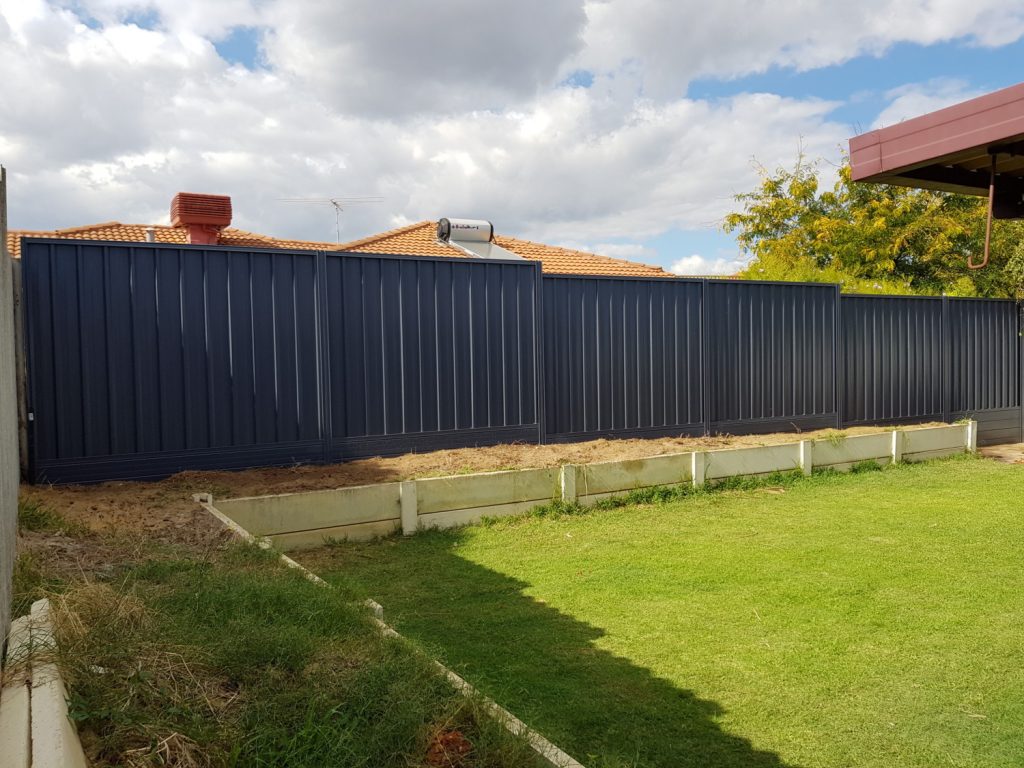
It always pays to be organised, and building a fence is no exception. Fence panels come in a wide range of colours and are available in 2 widths, 2.365m & 3.125m. There are four different panel heights available, 1.2m, 1.5m, 1.8m and 2.1m. However, you can customise the size of your fence by adding height extensions. There are different styles to choose from, and all options attach to the main fence structure. No replacement of parts required.
Measure your site carefully and calculate the number of panels and posts you require. Then, purchase your Colorbond fencing from any major DIY retailer.
Installing a Colorbond Fence
Step 1: Remove the old fence
Remove the old fence and check the ground for possible obstructions such as tree roots. Clear and level the fence line.
Step 2: Dig Your Holes
Screw all but two of the fence posts together. Next, dig the post holes. Each hole should be roughly 600mm deep and 200mm wide and space them out to align with your fence panels. Drop a single post into the first post hole and a double into the next.
Step 3: Install the Bottom Rail
Connect the bottom rail between the first two posts. Once you are sure it is level, drill through the post into the bottom rail to secure it. Now, dig the next post hole and drop in the post.
Step 4: Half-Fill with Concrete
Once all the posts and bottom rails are in place, half-fill each post hole with concrete. This will help hold the fence in place while you install the fence panels.
Step 5: Install the First Panel
Inserting panels is a two-person job. To insert the first panel, insert the bottom of the panel and then push it down into the bottom rail. Install one panel at a time.
Step 6: Insert the Top Rail
To secure the panel into place, insert the top rail between the fence posts. Slide the penal into the top rail but leave the last corrugation free for attaching the next panel.
Step 7: Inserting Remaining Panels
Repeat the same process to install the remaining panels. The first and last corrugations of adjoining panels should always overlap.
Step 8: Fasten the Top Rail
To fasten the top rail in place, check it’s level and is holding the fence panel correctly. Screw through the fence post into the top rail at both ends.
Step 9: Infill Panels
Chances are your fence will require a custom panel to make it fit. To cut a panel to size, measure the distance at the top and bottom between the fence posts. Transfer the measurement to your infill panel and cut it to size with an angle grinder.
Step 10: Cut the Infill Panel Rails
Cut the top and bottom rails using the same measurements as the infill panel and cut with the angle grinder.
Step 11: Place Capping
Once all panels and rails are in place, it’s time to add the finishing touches. Push the post caps into place. If you have a half post, cut a cap in half and then push into place.
Step 12: Finish Concreting
Fully concrete all the fence posts, and the job is complete.